How do you check clothing quality before placing an order?
Start with the finished sample, your measurement chart and the details you agreed with the clothing manufacturer. Check the garment as a whole first, then inspect the fabric, seams, ribbing, pockets, trims, labels and finishing. Record specific changes before you approve bulk production.
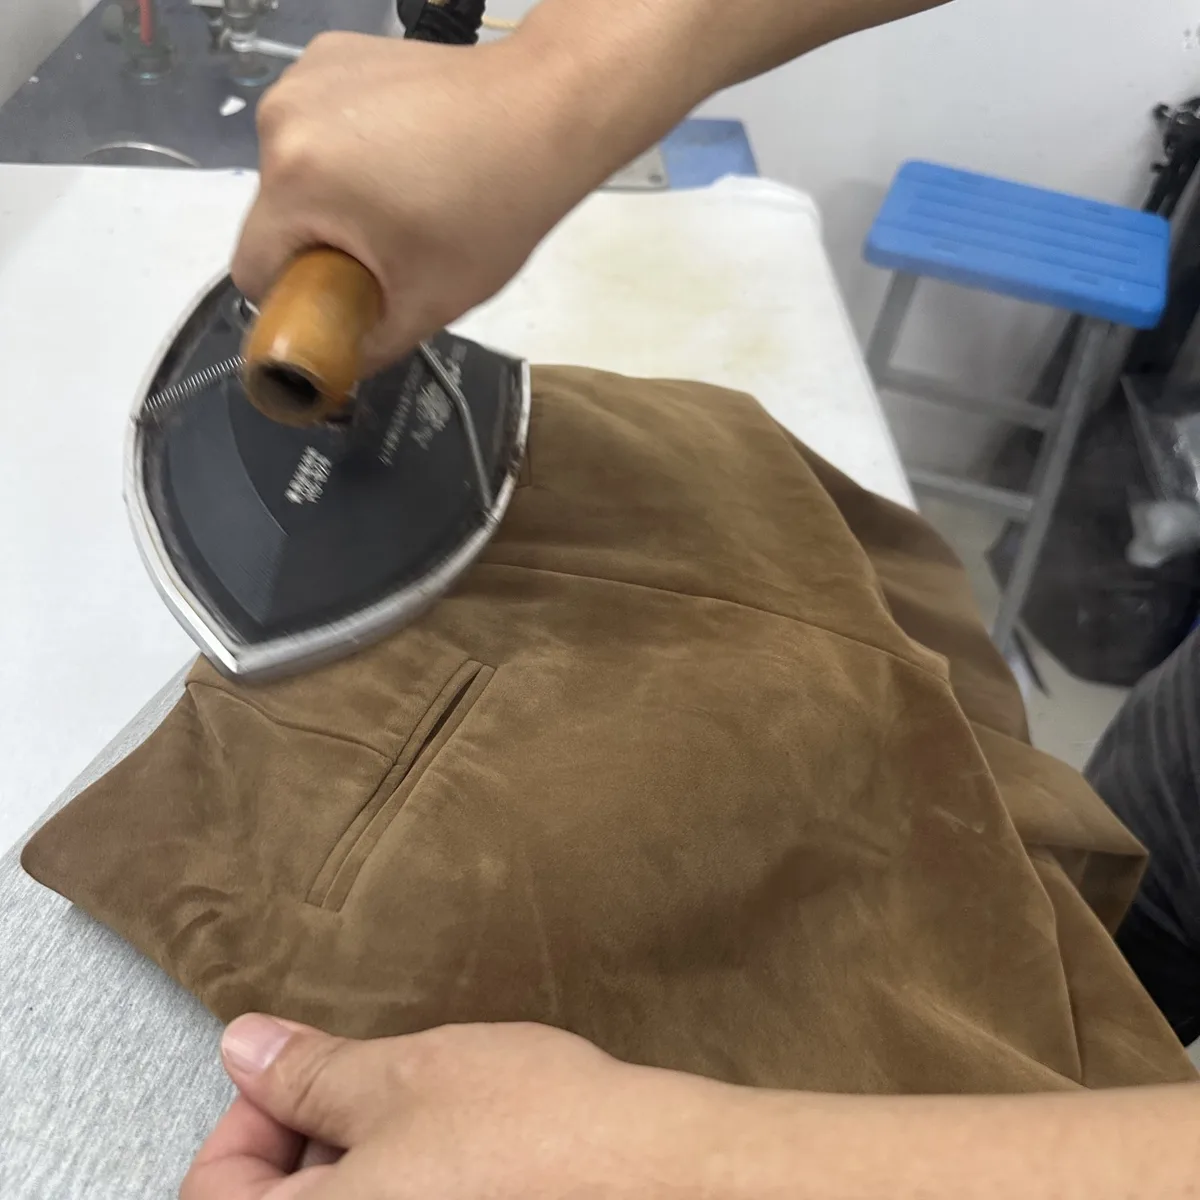
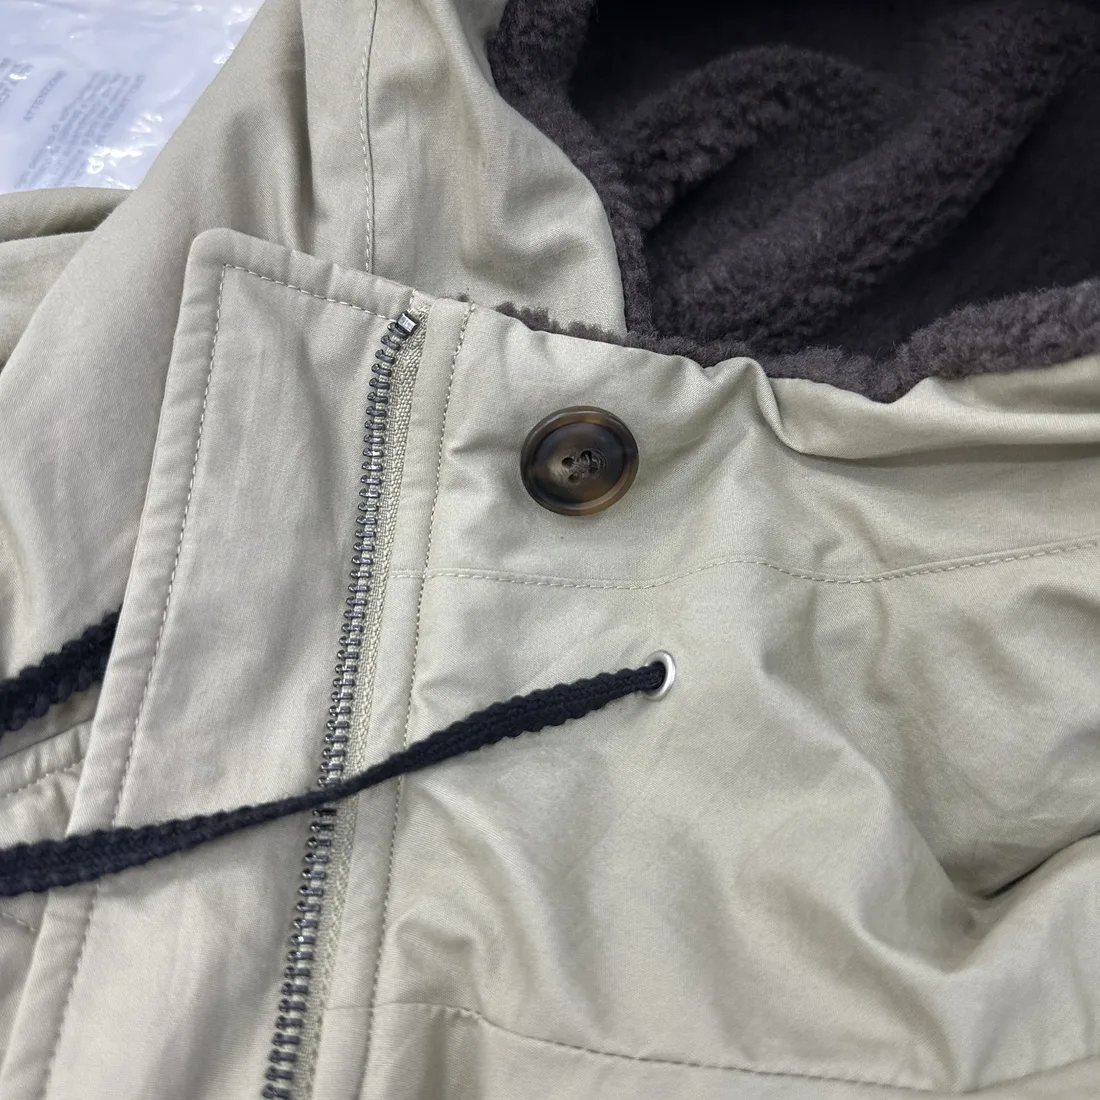
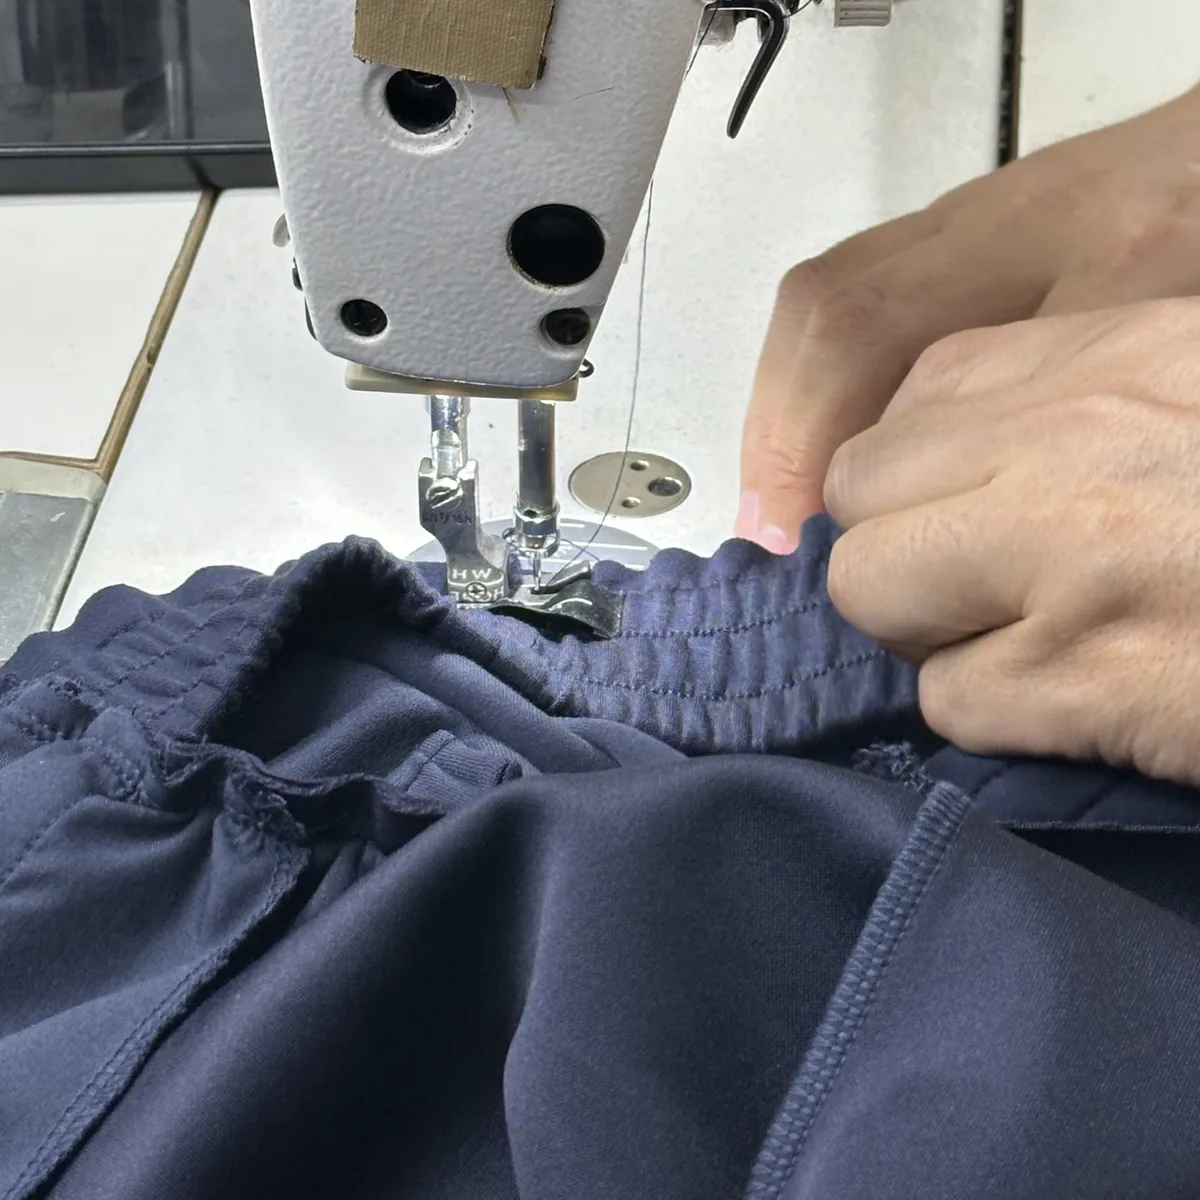
The photographs in this guide show real sewing and garment details. They are examples of areas to review; a close-up cannot establish the quality of an entire order or replace agreed product testing.
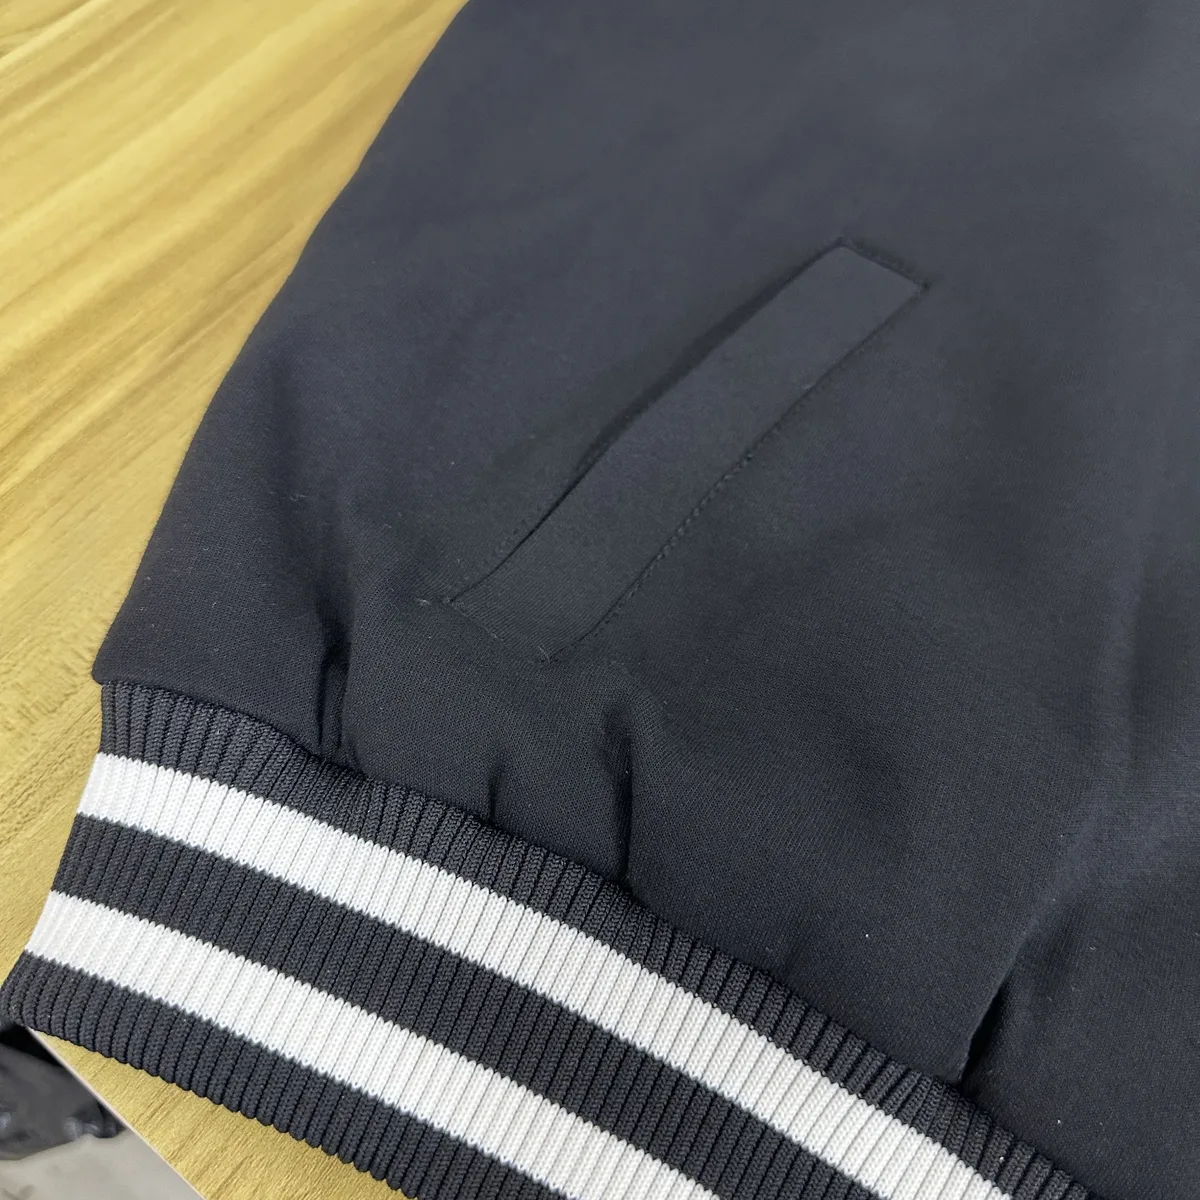
1. Check the fabric against your reference
Compare the colour, surface and hand feel with the agreed swatch or reference. Ask the manufacturer to confirm composition and fabric weight when those details matter to your project. A photograph alone cannot verify either.
Look for visible marks or uneven areas under consistent lighting. If you need particular shrinkage, colourfastness or durability performance, agree on suitable testing separately rather than assuming it from appearance.
2. Inspect stitching and seam construction
Follow visible seam lines and check for skipped stitches, loose threads, uneven spacing or puckering. Turn the sample inside out to see how seam edges are finished and whether a bulky join affects comfort.
If something needs adjustment, mark the area on a photo and explain what you want changed. Compare matching areas on both sides when the design is intended to be symmetrical.
3. Review ribbed cuffs and hems
Ribbing affects the shape and feel of a cuff, collar or waistband. Check the width, colour, stripe placement and how it joins the body fabric. Gently stretch and release it to see how it behaves, then discuss any recovery requirement with the factory.
If your design uses striped rib, mark where the stripes should sit and how they should match at joining seams. The material, dimensions and stretch should be approved on a real sample.
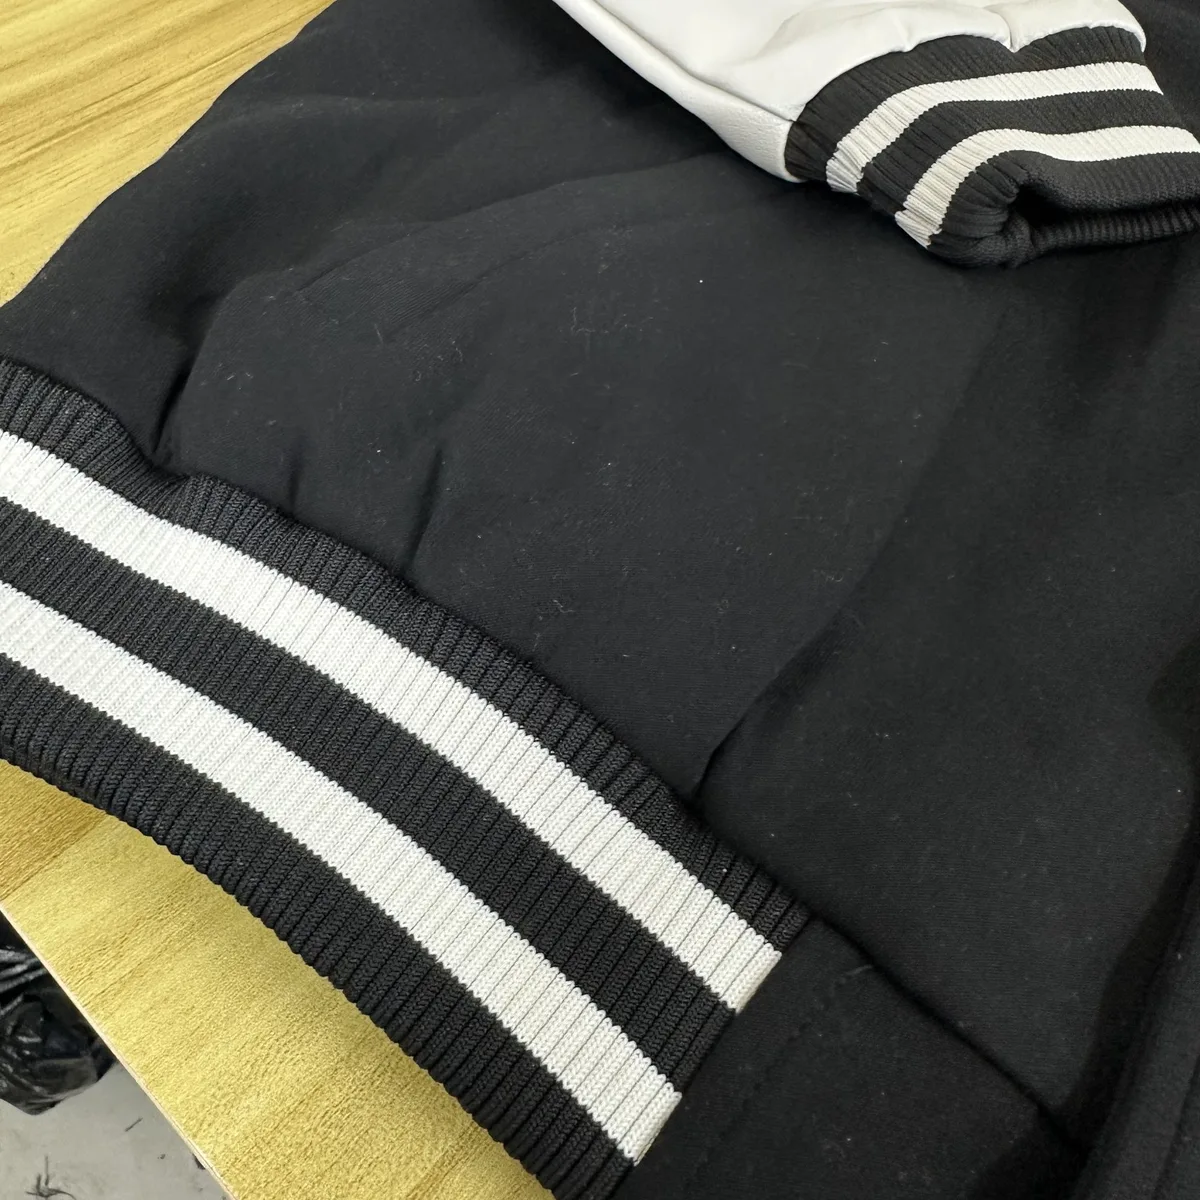
4. Test pocket placement and function
Check the pocket opening, placement and shape against your design. Put your hand inside to check whether the opening and depth suit the intended use. Look at the ends of the opening and the surrounding fabric for distortion or loose stitching.
Use a marked reference or measurements if you want the pocket moved, widened or reshaped. A specific instruction is easier for a manufacturer to follow than simply asking for a better pocket.
5. Check zippers, buttons and other trims
Open and close each zipper, snap or button several times and check alignment and positioning. Confirm trim size, colour and finish against the agreed reference. Custom hardware can require separate development, so ask about its lead time and cost before approval.
If the product needs a defined strength or durability standard, agree on the relevant test and acceptance criteria with the manufacturer.
6. Measure the garment and try it on
Measure at the agreed points: for example, chest width, body length and sleeve length for a jacket or sweatshirt. Compare the results with your size chart and agreed tolerances. Try on the sample where possible and note how it feels during normal movement.
Record the sample version, the measuring method and the stage at which measurements were taken, especially if washing or pressing is part of your design.
7. Confirm labels and finishing
Check the position and appearance of brand labels, size labels and care labels. Agree on the wording and placement needed for your destination market, and check any loose threads or visible marks before approving the sample.
Keep one approved sample and a single written list of confirmed details. Agree how bulk garments will be checked, what counts as an acceptable variation and how any issues will be handled.
Clothing sample quality checklist
Before production, share a clear reference package with your manufacturer. You do not need a perfect technical vocabulary—photos, measurements and notes are a useful start.
- Approved sample version and photos of important details
- Fabric and colour references, including composition and weight if known
- Measurement chart, measuring points and agreed tolerances
- Pocket, ribbing, stitching and trim requirements
- Artwork, label and packaging details
- Target quantity, delivery country and timeline
How YILI helps small brands develop their garments
YILI Clothing works with independent brands on custom garment development, sample review, sewing and finishing. We can discuss the details that matter to your design and help identify the information needed for a practical production plan.
MOQ starts from 50 pieces per style, depending on fabric, colour and decoration. Typical sampling takes 5–7 working days after details and materials are confirmed; production timing depends on the approved sample, materials and complexity. Send your design, reference photos and target quantity to start a conversation.