A jacket sample is more than a first impression
When you are looking for a custom jacket manufacturer, it is easy to judge a sample by its overall look. But small construction details can change the fit, function and feel of the finished piece. Reviewing those details early gives your brand clearer feedback before bulk production.
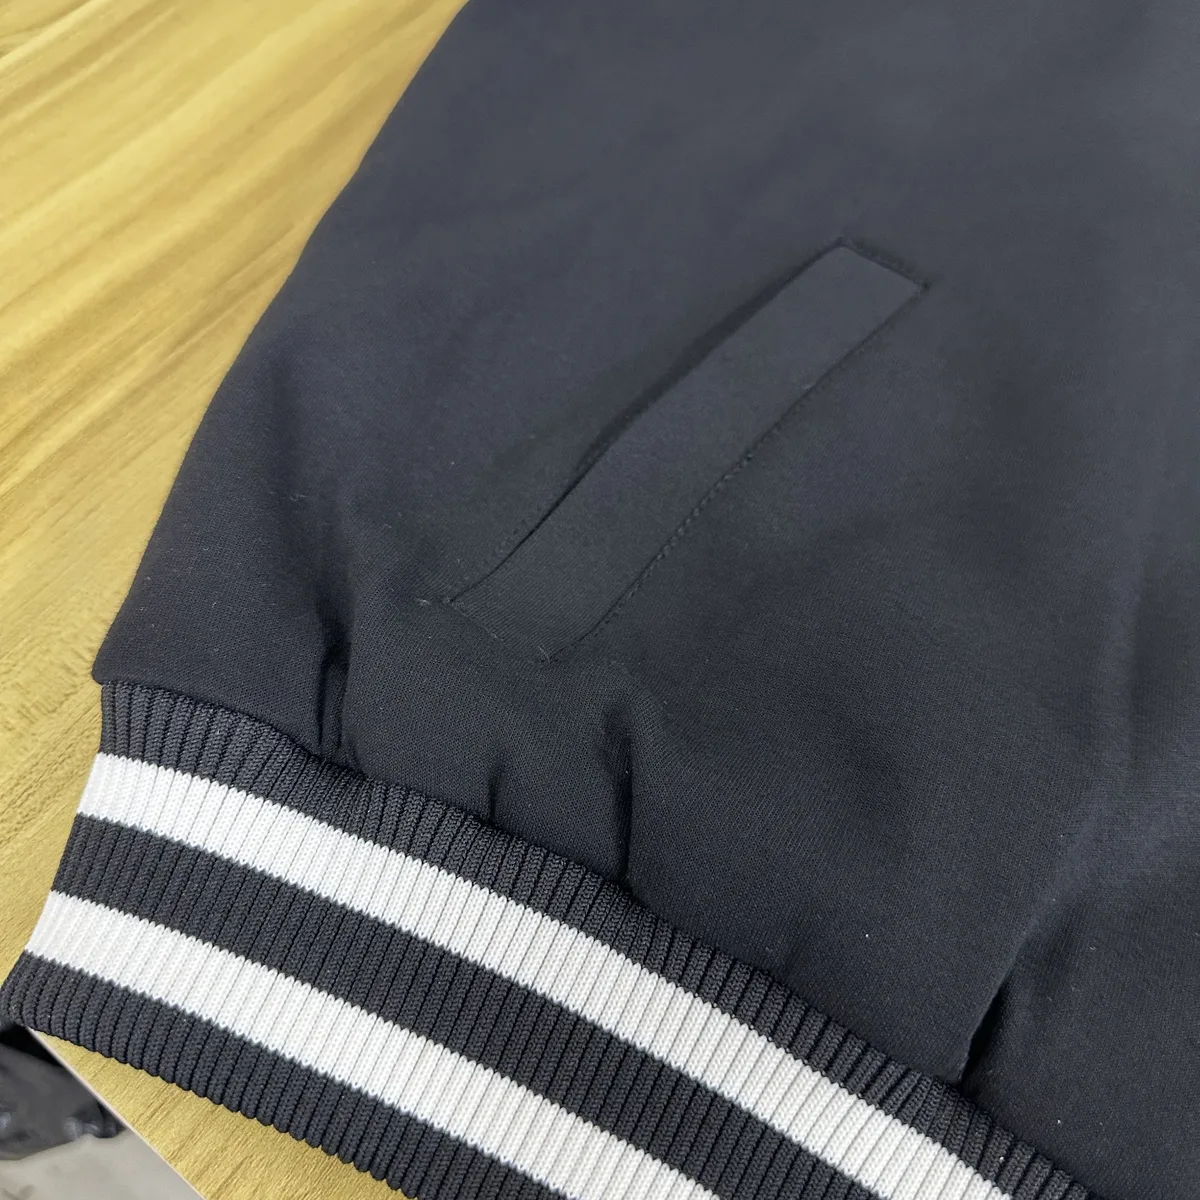
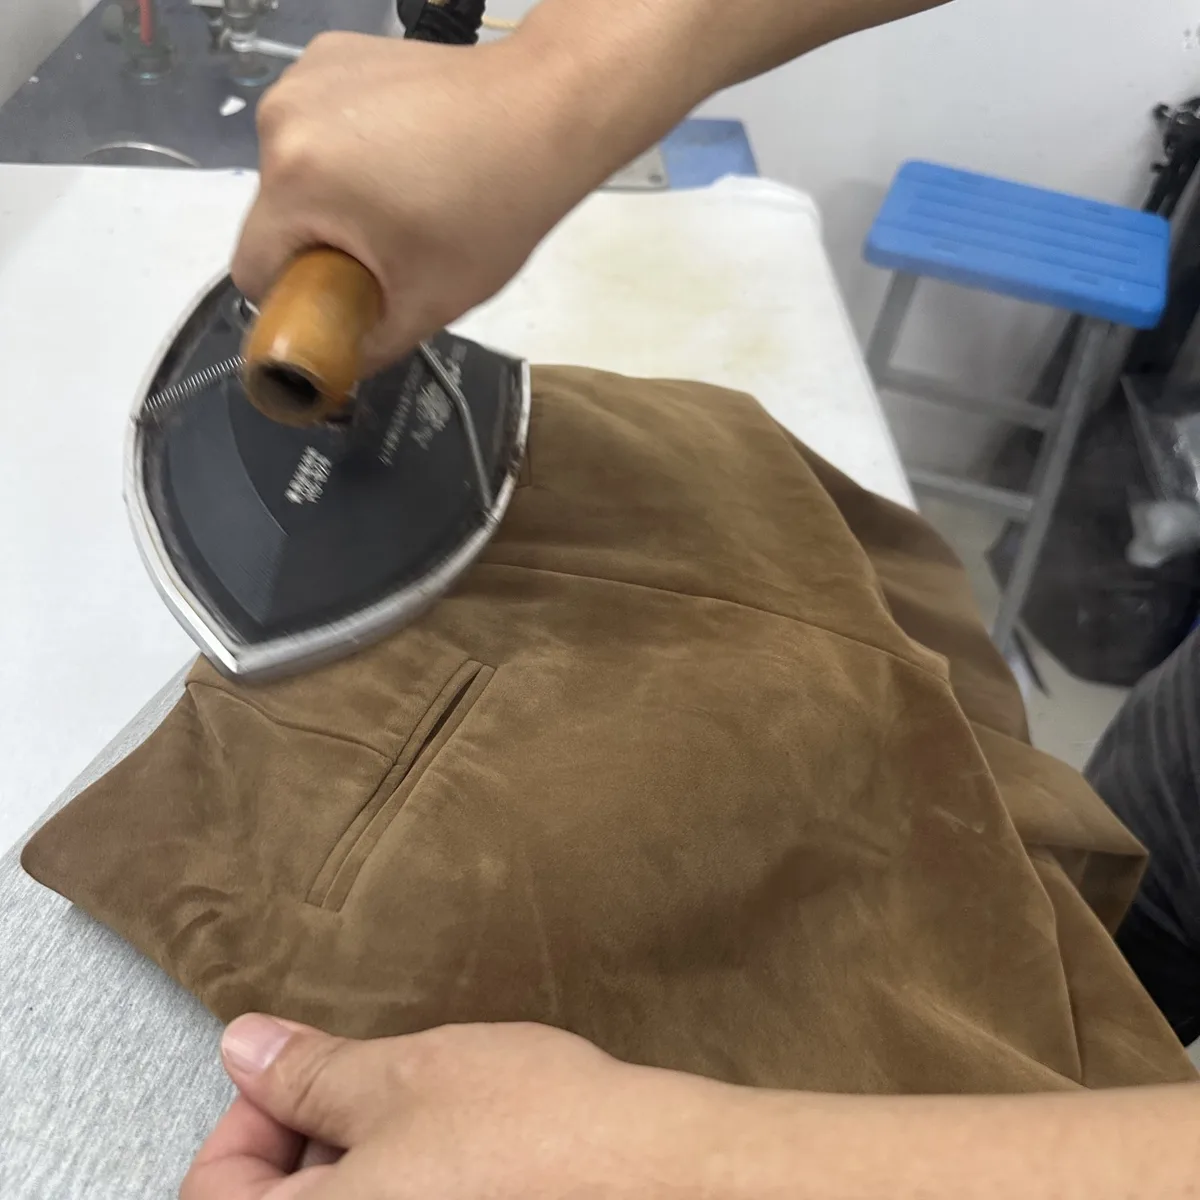
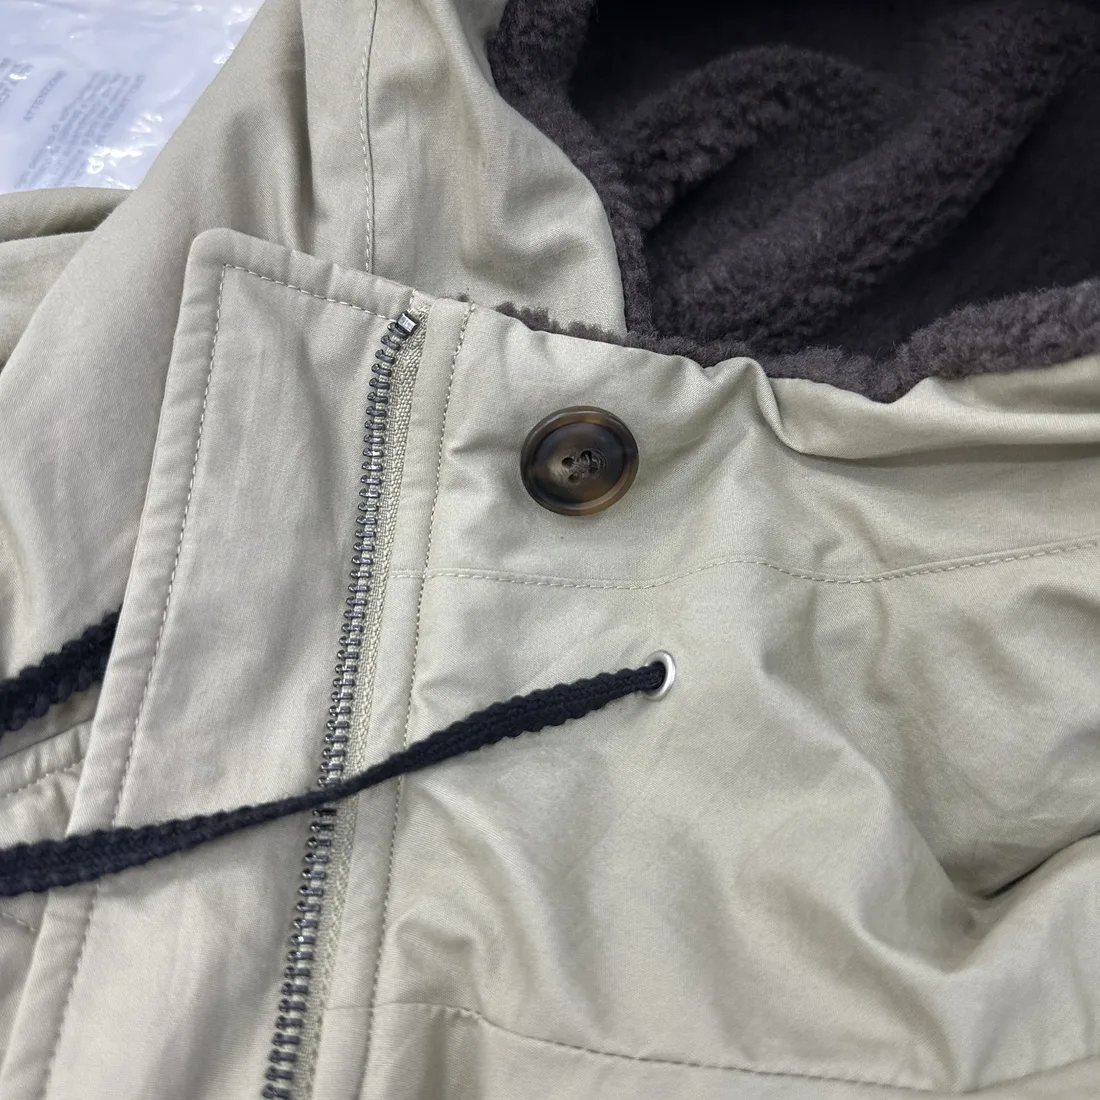
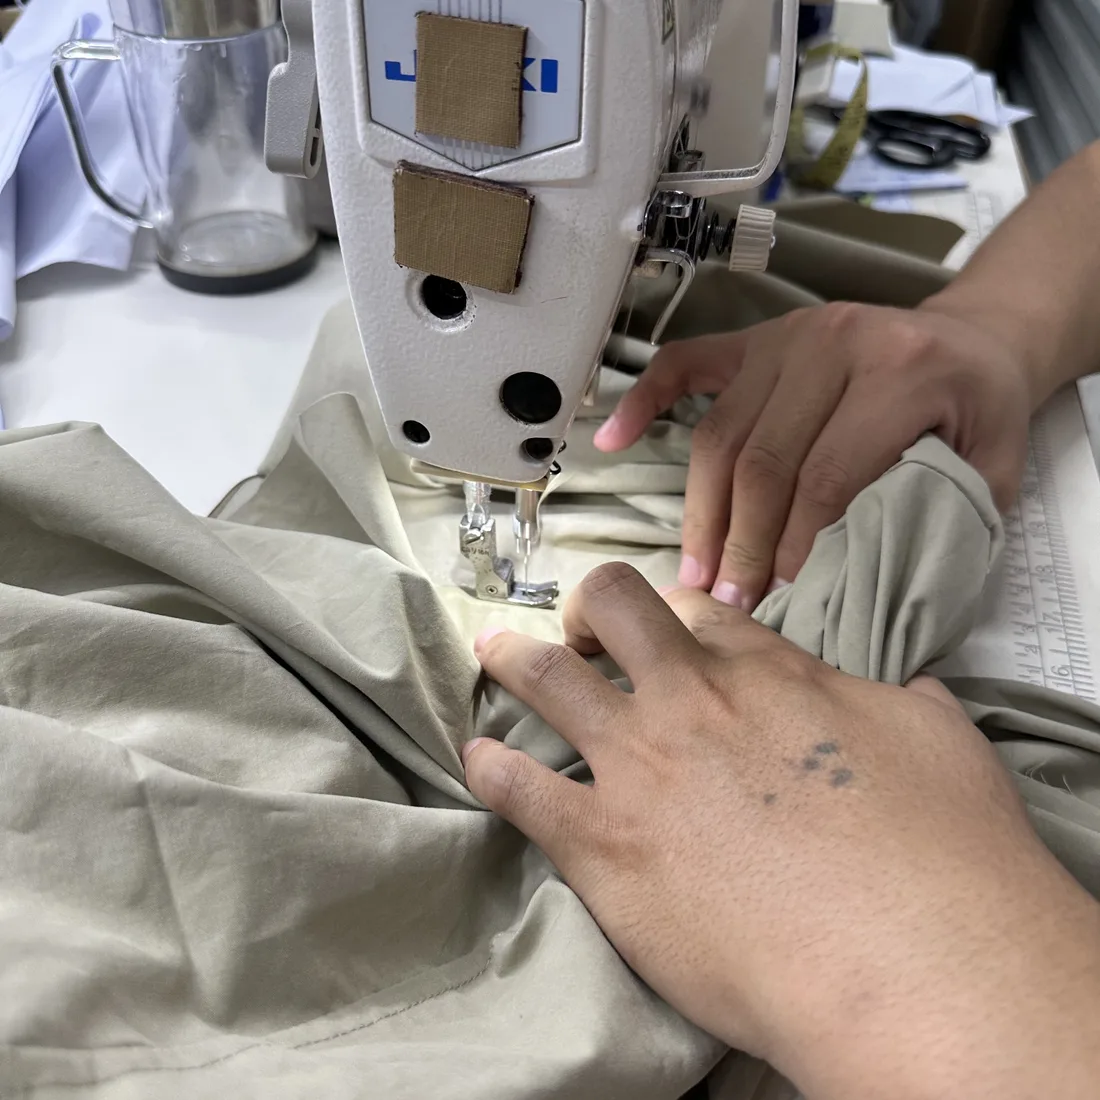
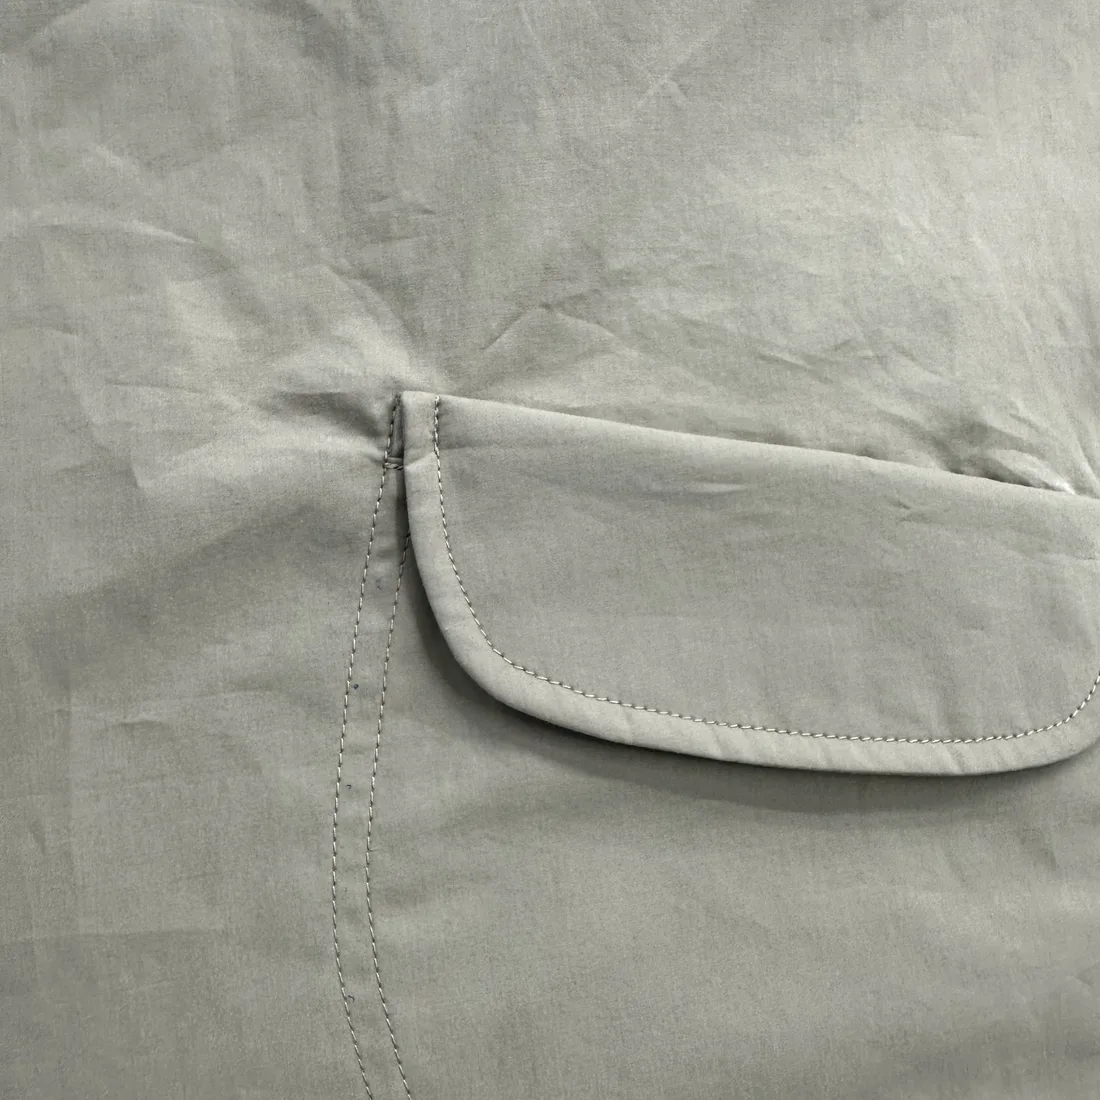
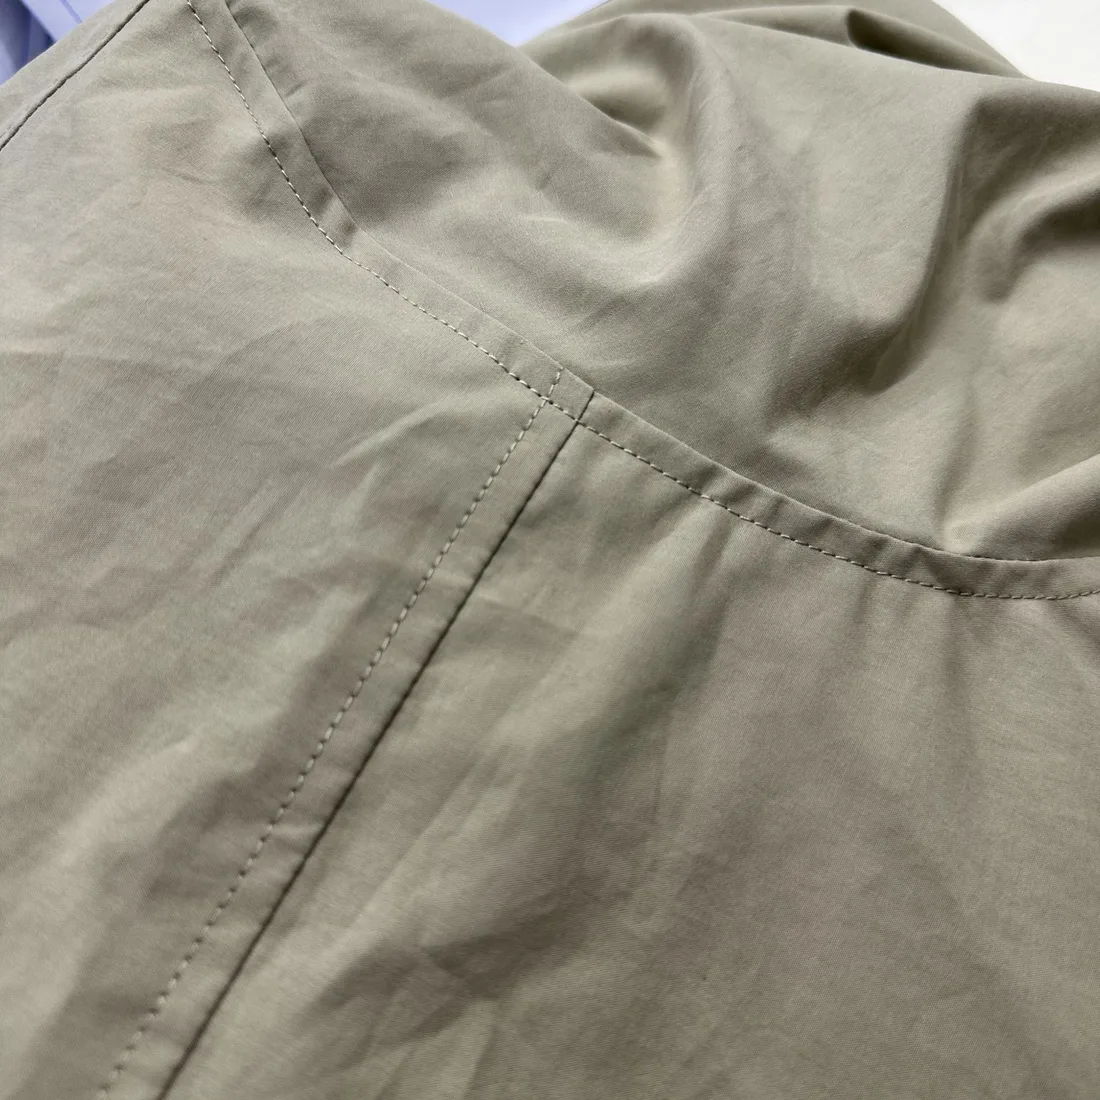
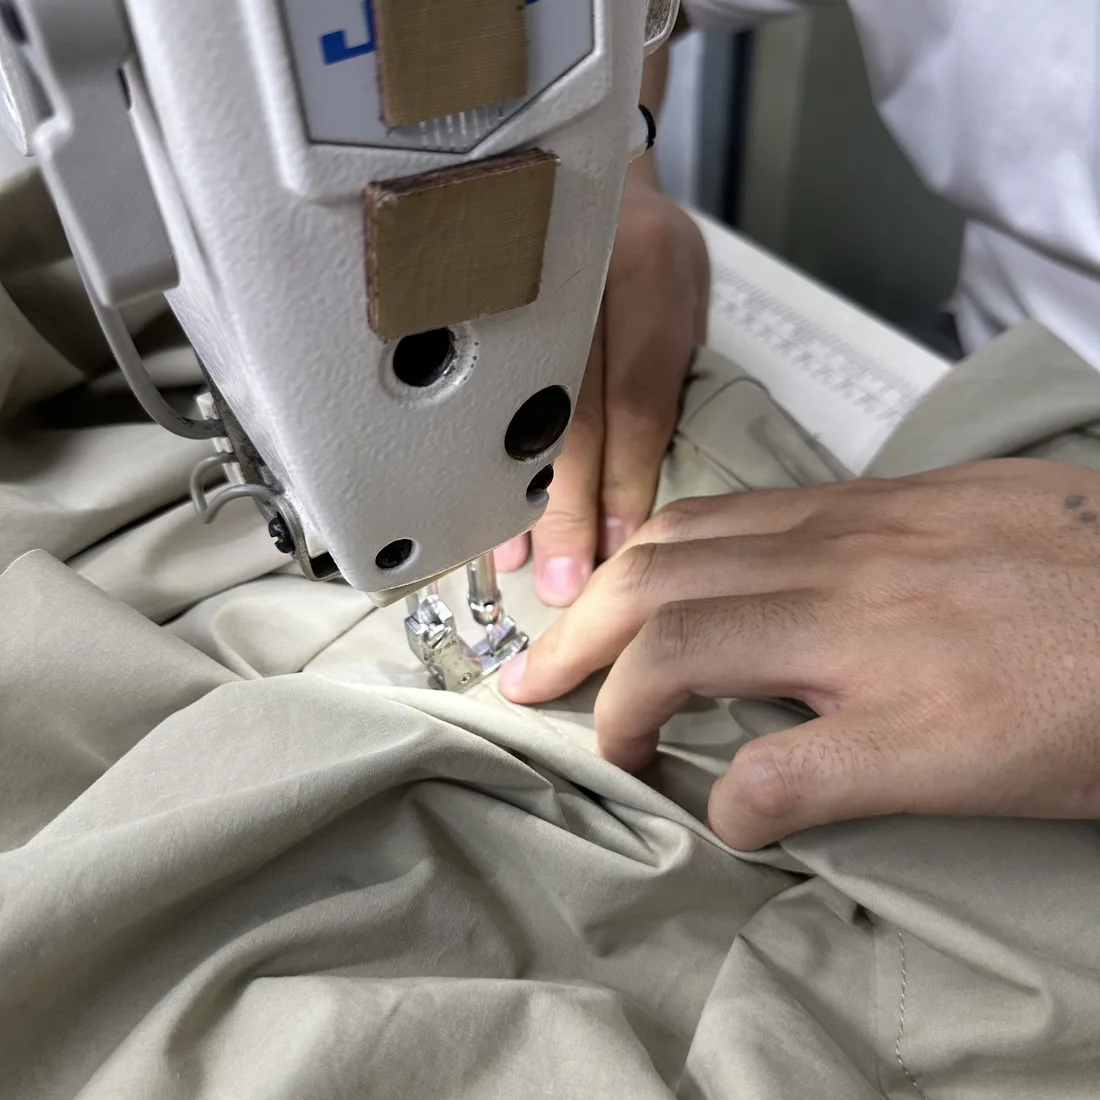
The photos in this guide show real sewing and detail work on a light neutral jacket sample. They are examples for explaining what to inspect—not a claim about a particular fabric composition, performance rating or finished production standard.
1. Confirm the fabric and layers
Write down what you know about the shell, lining or padding, including composition and weight when available. If you are not sure, send a physical reference or ask the factory to confirm the proposed options. Do not assume a fabric is waterproof, windproof or warm based on a photo alone.
Check that the sample uses the agreed material direction. A different layer or fabric weight can change how the jacket hangs, how much room is needed and how seams feel.
- Shell and lining requirements, if applicable
- Fabric composition or a reference swatch
- Target weight or hand feel, if known
- Any performance claims that need separate testing
2. Check fit and measurements on the actual sample
Measure the sample against a size chart or a jacket you already like. Record where each measurement starts and ends—for example, chest width, body length, shoulder width and sleeve length. Try it on over the layer it is designed to be worn with, if possible.
Look at ease through the body and sleeves, then move your arms and close the jacket. If it will be layered, check that the fit still feels comfortable. Mark exact changes rather than saying only that it feels too big or too small.
3. Inspect seams and stitching
Lay the jacket flat and follow the main seams from one end to the other. Look for consistent stitch lines, missed stitches, loose threads, puckering or places where several seams meet. Turn the garment inside out to review the seam finish and any bulky areas that may affect comfort.
Compare matching details on both sides where the design calls for symmetry. The sewing photos show the operator guiding the sample through a machine; they do not replace a full garment inspection.
4. Test the closure and hardware
Open and close the zipper several times. Check whether it runs smoothly, whether the top and bottom stops sit where expected and whether the closure lies flat when worn. If the jacket uses buttons or snaps, test each one and confirm their spacing and alignment against your reference.
Specify the hardware finish, size and colour you want. If a trim is custom, confirm whether it needs separate development and review it on the garment before approving the complete sample.
5. Review pockets, flaps and functional details
Check pocket placement against the front and side views of your design. Put a hand or the intended item inside to see whether the opening is comfortable and the pocket feels usable. Review flap shape, edge stitching and whether both sides match where required.
For drawcords, tabs, cuffs or adjustable details, confirm their position, length and finish. A marked reference photo with a measurement is much easier to follow than a general comment.
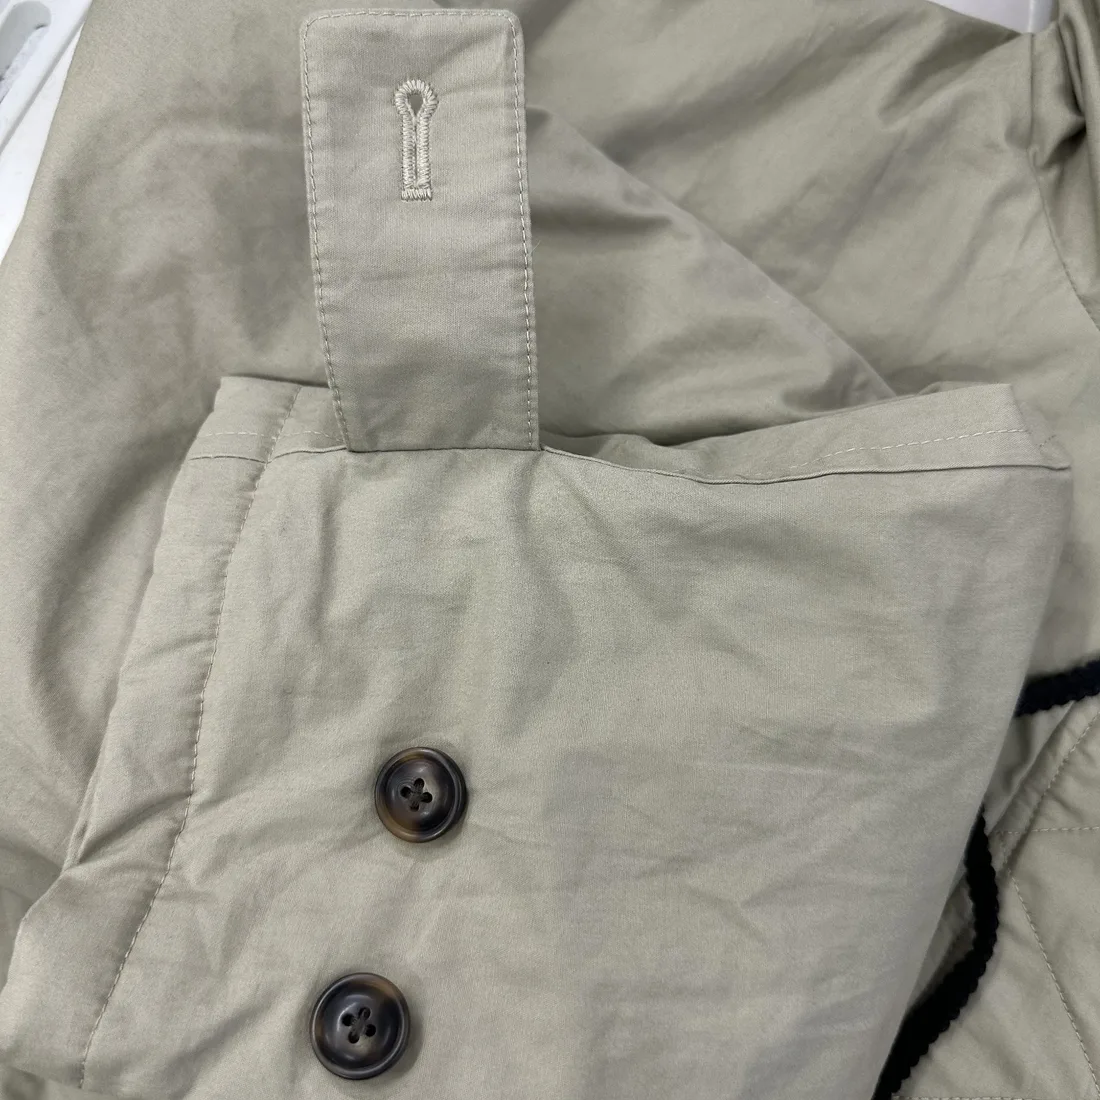
6. Check topstitching, edges and inside finishing
Look closely at visible topstitching, hems, pocket edges and seam allowances. Compare their width and position with the approved design. Check the inside for loose threads, rough edges or areas that feel uncomfortable against the body.
If the jacket includes lining or padding, review how the layers sit around openings, cuffs and hems. Confirm any labels and care information you need before bulk production.
7. Approve one complete, clearly identified sample
Before approval, review the jacket as a complete product: fit, material, closures, pockets, stitching and finishing together. Keep one dated sample or photo set as the reference, note the sample version and put all requested changes in one feedback list.
Agree on the measurements, tolerances, colour reference and details that will be checked for your order. The production plan and timeline depend on the style, materials and custom details, so confirm them with the factory for your specific project.
- Product reference and target quantity by colour
- Measurement chart or a reference jacket
- Fabric and lining direction, if known
- Hardware, pocket and closure requirements
- Marked photos showing the requested changes
- Delivery country and target date
How YILI can support a small-brand jacket project
YILI Clothing works with independent brands on custom garment development, sample review, sewing and finishing. MOQ starts from 50 pieces per style depending on fabric, colour and decoration. Typical sample development is about 5–7 working days after details and materials are confirmed; complex construction or custom trims may affect the schedule.
Send us your jacket reference, target quantity, material direction and the details that matter most. We can review what is ready for sampling and what needs clarification first. Use the contact page to start with a simple project brief.