From the workshop · Press play to watch
Start with the actual size
A logo on a screen is not the same as a stitched sample in your hand. Before sampling, share the artwork, the intended width and height, the fabric and the placement. Mark the position from a clear garment reference point so everyone measures it in the same way.
Review small lettering and narrow spaces at the final size. If a detail does not read clearly in the sample, discuss changing the artwork or its dimensions before approving production.
Look at the front and the reverse
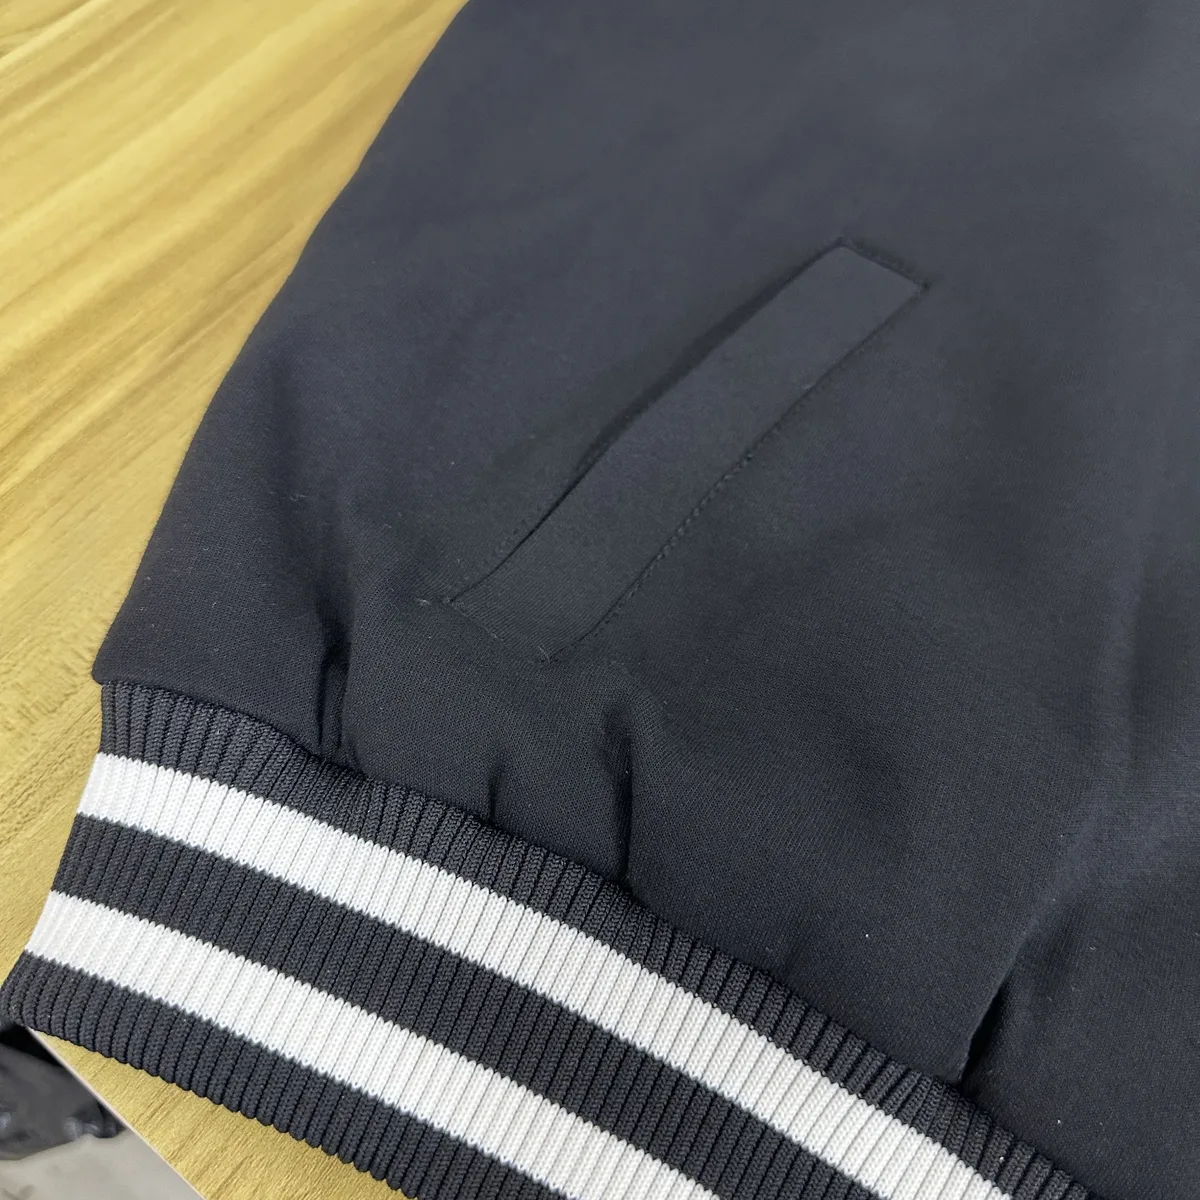
Lay the sample flat and inspect the outline, filled areas and transitions between colours. Look for unwanted gaps, loose ends and distortion around the embroidery. Turn it over and check the backing and any areas that will touch the skin.
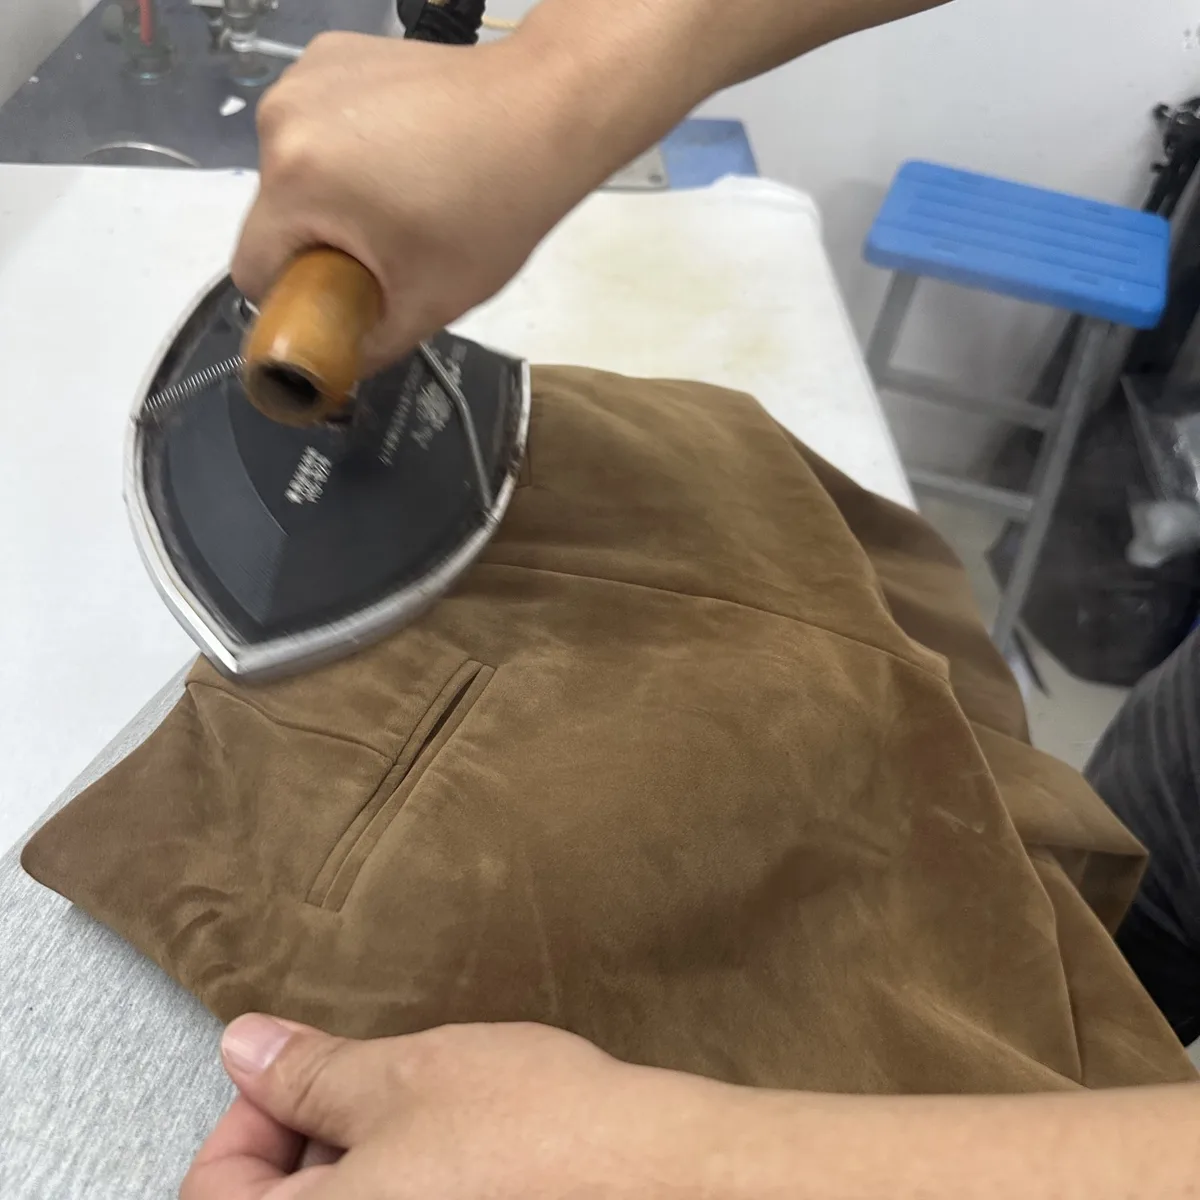
The workshop film gives you a view of the operation. To judge your own design, ask for a close-up of the finished front and reverse as well as the physical sample.
- Confirm thread colours against the agreed reference.
- Check placement and orientation on the garment.
- Review the outline and lettering in good light.
- Try the sample on and assess comfort.
Approve a finish you can repeat
Write down the changes in one feedback document with marked photographs. Keep an approved sample or a clearly identified reference, and agree which details will be checked in production. If the garment will also be printed or washed, review the complete finished sample rather than approving embroidery alone.
Send YILI your artwork, placement, fabric reference and target quantity to discuss the sample. You can explore more examples in our Craftsmanship showcase.