A good sample needs a clear production reference
Your clothing sample looks right. The next question is how the rest of the order will be checked against it. A general approval such as “looks good” can leave room for different interpretations of fabric, measurements and finishing.
Before releasing a custom clothing order, agree on the details below with your manufacturer. These checks help make expectations clear; they do not replace inspections during production or a review of finished goods.
1. Identify the exact sample you are approving
Label the approved sample with the style code, version and approval date. Keep the latest measurement sheet, artwork and comments together so an earlier revision cannot be mistaken for the final instruction.
If you have approved the fit but not the fabric or decoration, say so explicitly. List what remains open and which decisions must be settled before production starts.
2. Confirm fabric and colour before cutting
Record the agreed fabric composition, construction, weight and colour reference. Ask whether the sample uses the intended production material and discuss how any proposed substitution will be reviewed.
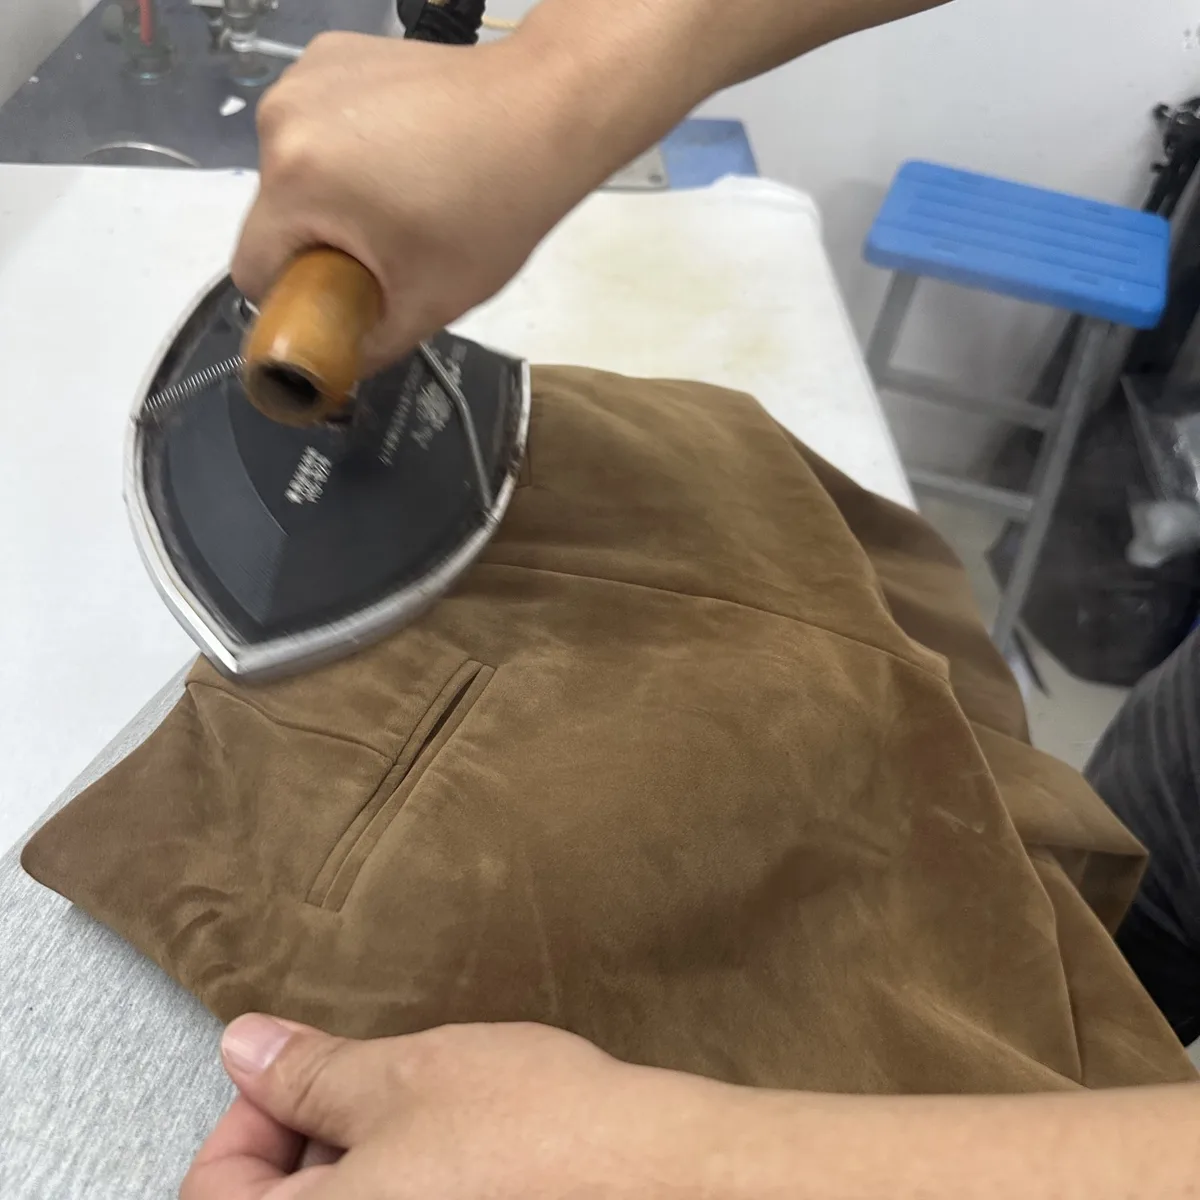
For colour-sensitive styles, compare physical references under consistent lighting. If a washed finish is part of the design, define the appearance on the finished garment rather than relying on an unwashed fabric swatch alone.
- Identify the approved fabric or swatch.
- Record the colour reference and acceptable variation.
- Confirm that material changes need approval.
3. Turn the fit into measurable requirements
Use a size chart with clear measurement points and units. Agree on tolerances for the style rather than applying one tolerance to every measurement. Identify whether measurements apply before or after the intended finishing process.
Check the intended size range as part of development. One well-fitting sample does not by itself confirm the fit of every size.
4. Make stitching expectations specific
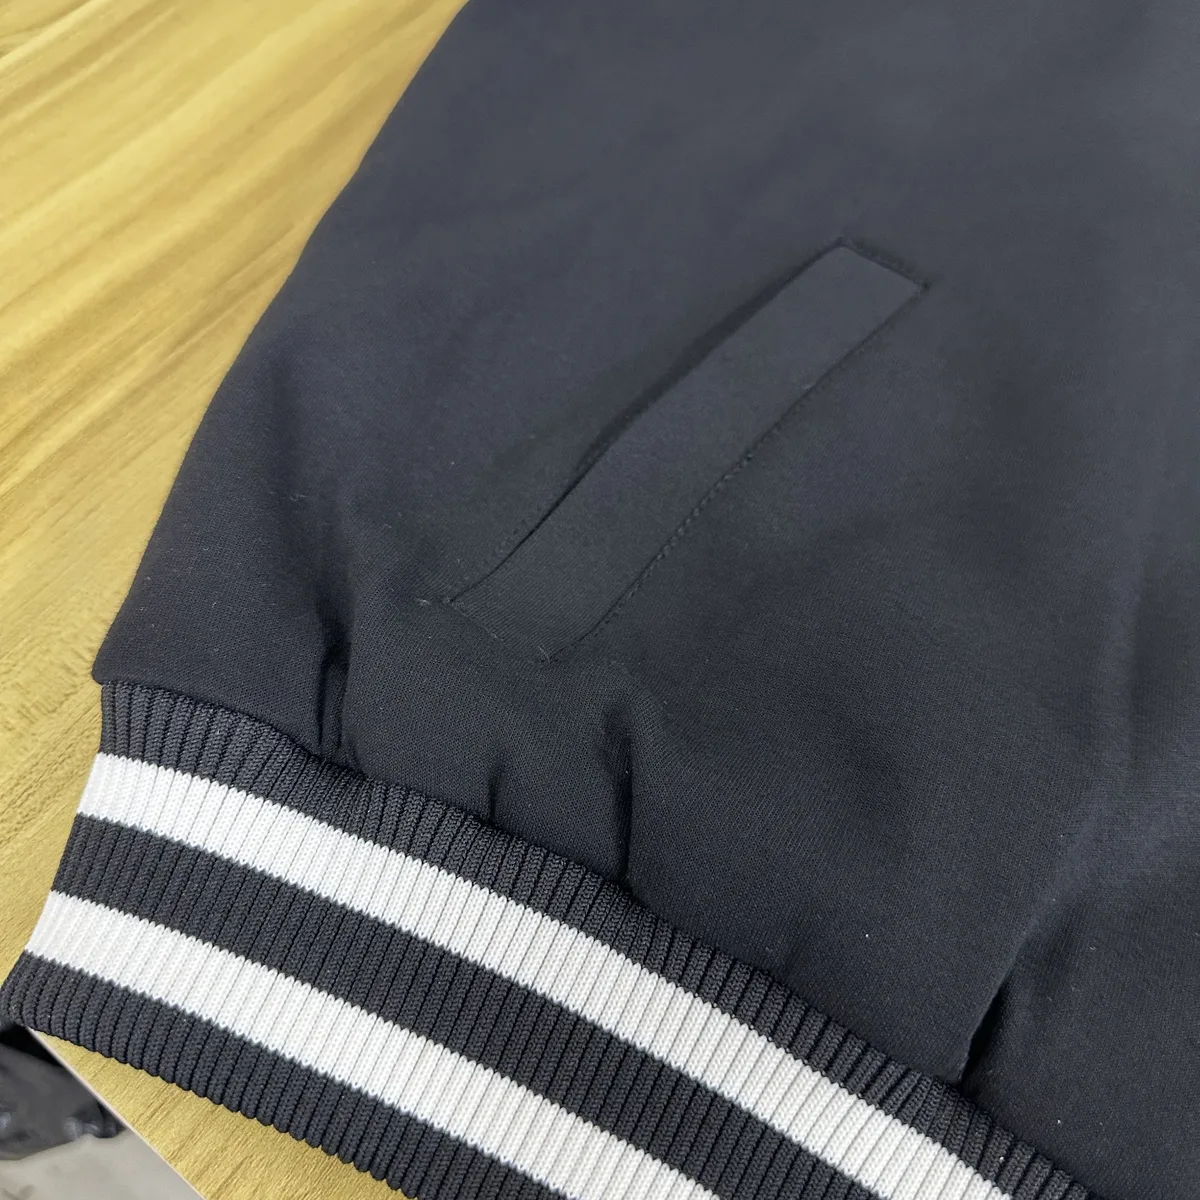
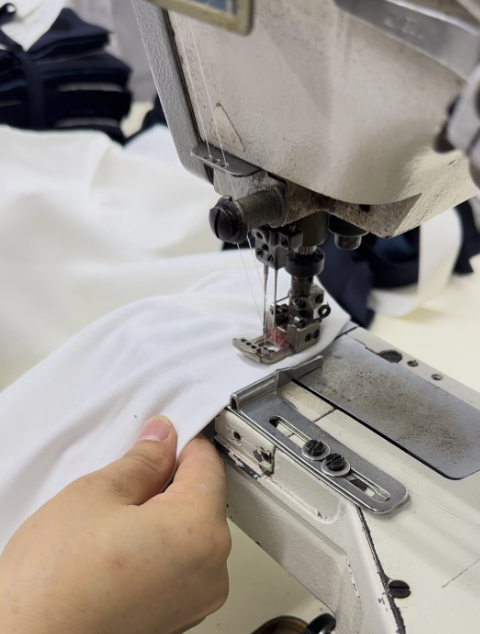
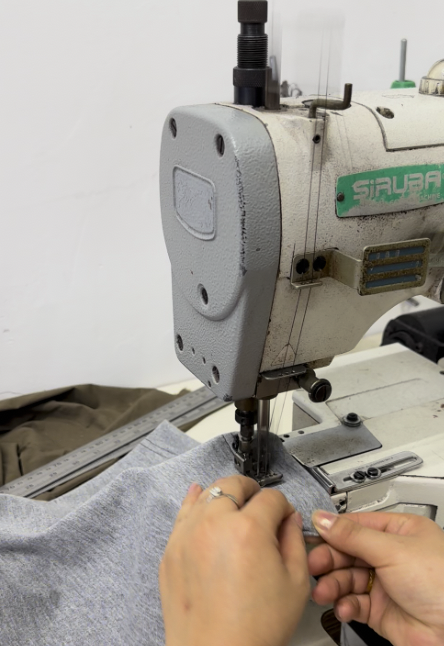
“Premium stitching” is difficult to inspect without a reference. Show the seam appearance and finish you want, including visible topstitching, inside edges and areas that need particular attention.
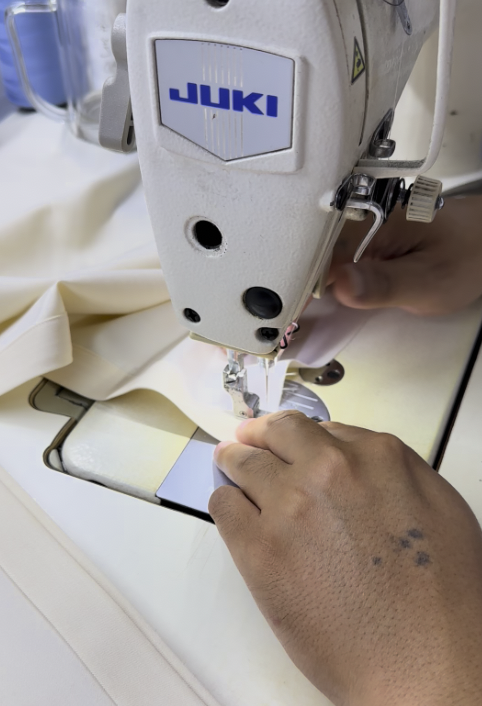
Review both sides of the sample. Flag skipped stitches, unwanted puckering, loose ends or bulky seams, then mark the exact locations in your feedback. The photographs here show sewing operations; seam strength and finished garment performance require separate assessment.
- Compare matching left and right details.
- Review seam junctions and pocket openings.
- Check inside seams for comfort and appearance.
5. Check trims and decoration on the complete garment
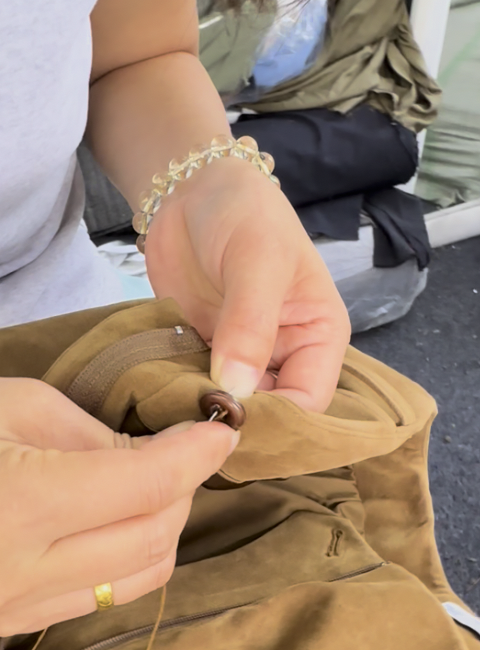
Confirm the size, placement and colour of printing or embroidery. Review zippers, buttons, drawcords and labels on the garment rather than approving them only from separate photographs.
Operate closures and check comfort during a fitting where practical. Agree on any additional performance tests your product needs. A close-up of hardware handling is useful workshop context, but it does not establish durability.
6. Agree on checks while production is underway
Ask when the first production pieces will be reviewed, what will be compared with the approved reference and who will report a discrepancy. Agree on checkpoints appropriate to the order and its construction.
If a repeated issue appears, identify the affected pieces, decide the correction and recheck the result before those pieces move forward. For remote updates, ask for clear measurements and close-up photographs of the relevant areas.
7. Confirm the final review and packing requirements
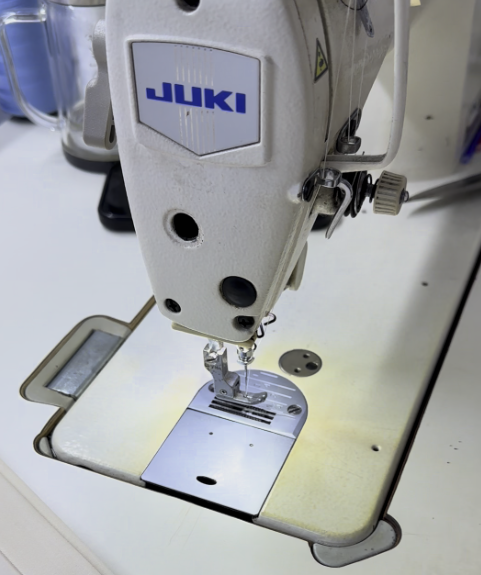
Agree on the final inspection scope before shipment. Record which checks apply to individual pieces and which use a sampling approach, along with how any defects will be handled.
Verify the quantities by style, colour and size, as well as labels, folding, packaging and carton identification. Production approval and shipping approval should be clear decisions with a recorded reference.
What if the production pieces do not match?
Document the difference with the style code, size, quantity affected, photographs and measurements. Compare it with the agreed sample and specifications, rather than relying on memory.
Ask the manufacturer to investigate the cause and propose a correction. Agree on what needs to be held, reworked or replaced and how the corrected pieces will be checked before shipment.
A short message to send before production
Ask your manufacturer: “Please confirm the approved sample version, final fabric, size chart and tolerances, decoration details, inspection checkpoints and packing requirements. Please flag any proposed changes before proceeding.”
Planning a custom clothing order with YILI? Send your design reference, target quantity and the quality details that matter most to your brand. We can discuss what needs to be confirmed during sampling and before production.